Know-how
Techniques
The core skills to cook with more confidence, from a sharp knife to a beautifully plated dish.
Sharpening
A sharp knife is safer than a dull one: it slips less and needs less force.
Key steps
- Use a whetstone (1000 grit to sharpen, 4000 to 6000 to polish), soaked for 10 minutes.
- Keep a steady angle of about 15 to 20°. Two stacked quarters under the spine are a good guide.
- Stroke the full length of the blade on one side until you feel a slight burr, then switch sides.
- Hone on a steel between sharpenings to realign the edge.
Avoid: The dishwasher and glass or marble boards, which ruin the edge.
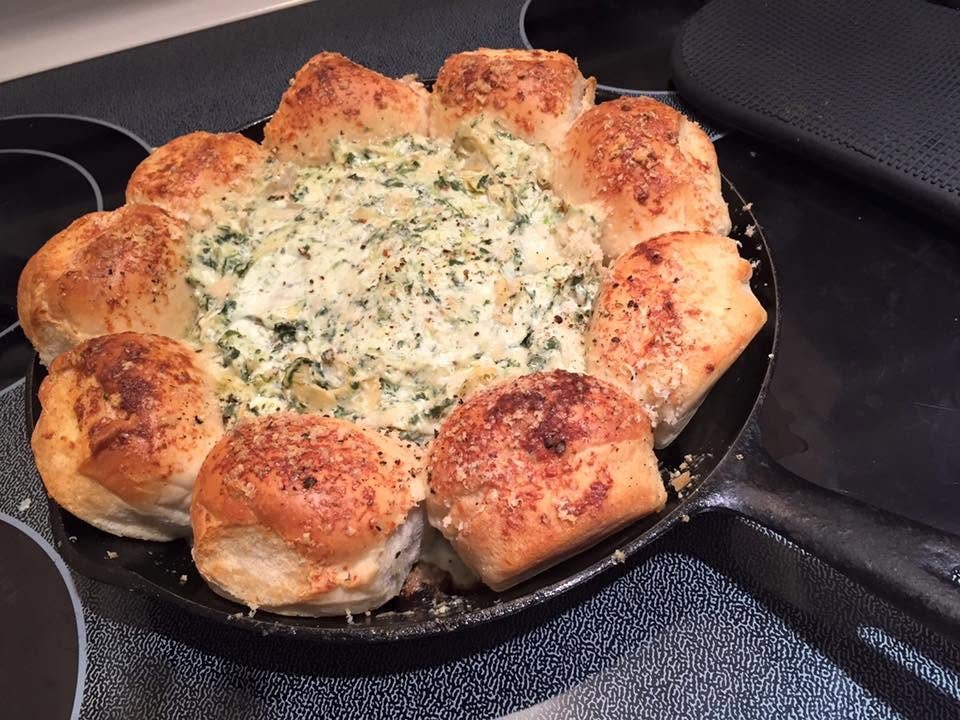
Mise en place
“Everything in its place”: prep and measure every ingredient before turning on the heat. It’s the secret of calm cooks.
Key steps
- Read the whole recipe once first.
- Get the equipment out: boards, bowls, pans, utensils.
- Wash, cut and measure each ingredient into small bowls, in order of use.
- Keep a scrap bowl and a damp towel within reach.
Avoid: Starting to cook before everything is cut, especially for a stir-fry that cooks in 5 minutes.
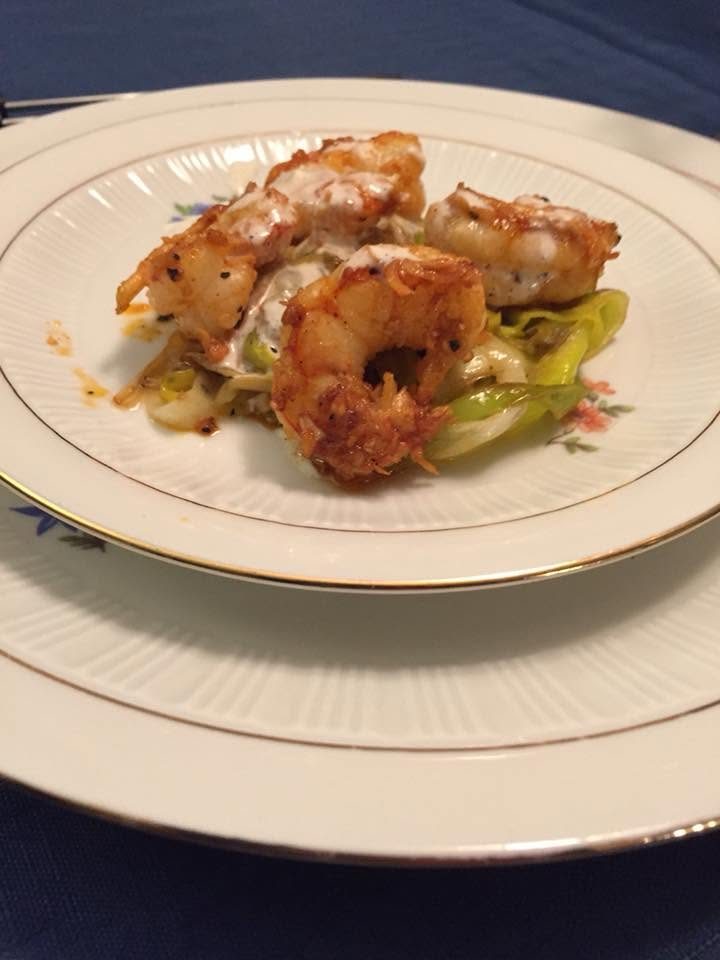
Plating
We eat with our eyes first. A few simple rules are enough for a restaurant-looking plate.
Key steps
- Pick a plate that contrasts with the colour of the food.
- Build height: a base (purée, leeks), the protein, then the garnish.
- Play with odd numbers (3 or 5 elements) and leave empty space.
- Finish with something fresh: herbs, zest, oil, cracked pepper. Wipe the rim.
Avoid: Overloading the plate or pouring all the sauce on top: underneath or on the side works better.
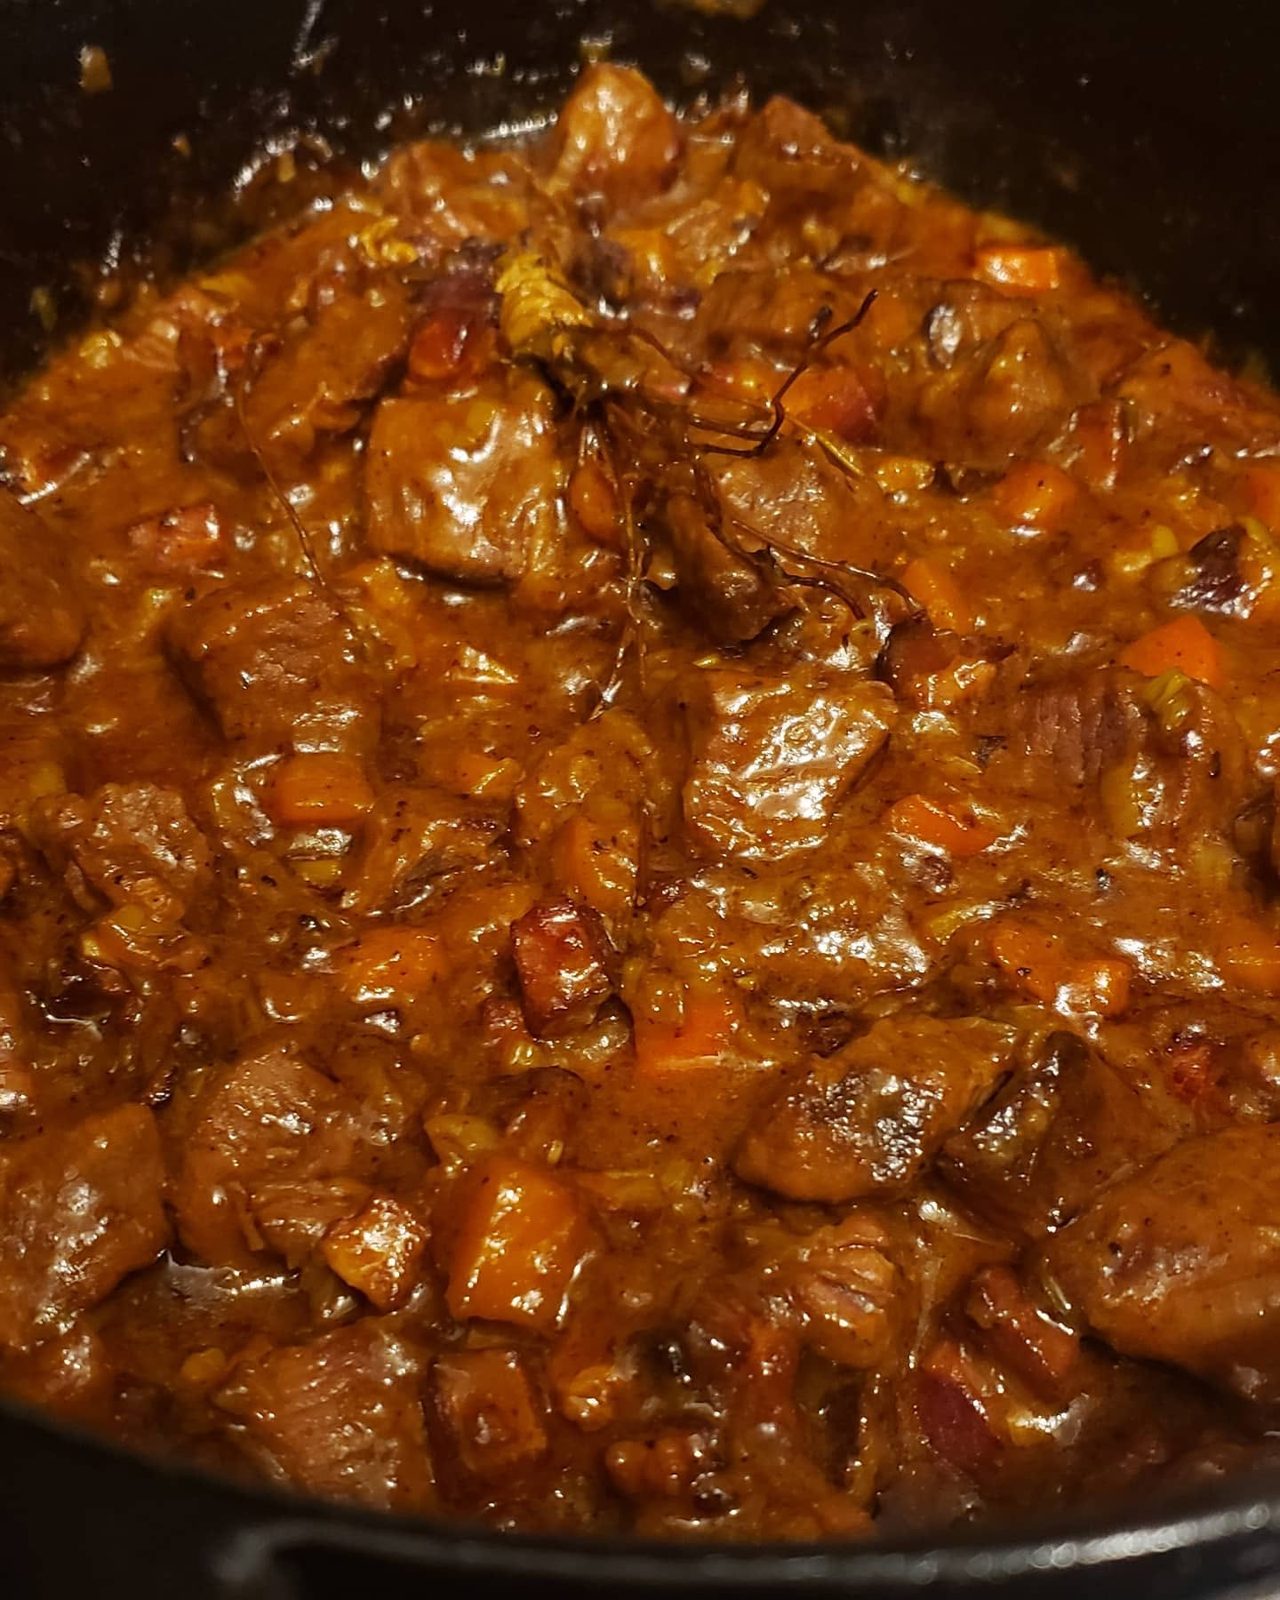
Braising
Sear meat, then cook it slowly, covered, in a little liquid at low temperature. Tough cuts turn meltingly tender.
Key steps
- Choose a collagen-rich cut: chuck, cheek, shank, shoulder.
- Sear in batches to get good colour.
- Sauté the aromatics, deglaze (wine, broth, beer) and return the meat halfway up the liquid.
- Cover and bake at 300 °F (150 °C) for 2 ½ to 3 hours.
Avoid: Boiling: a very gentle simmer keeps the meat tender.
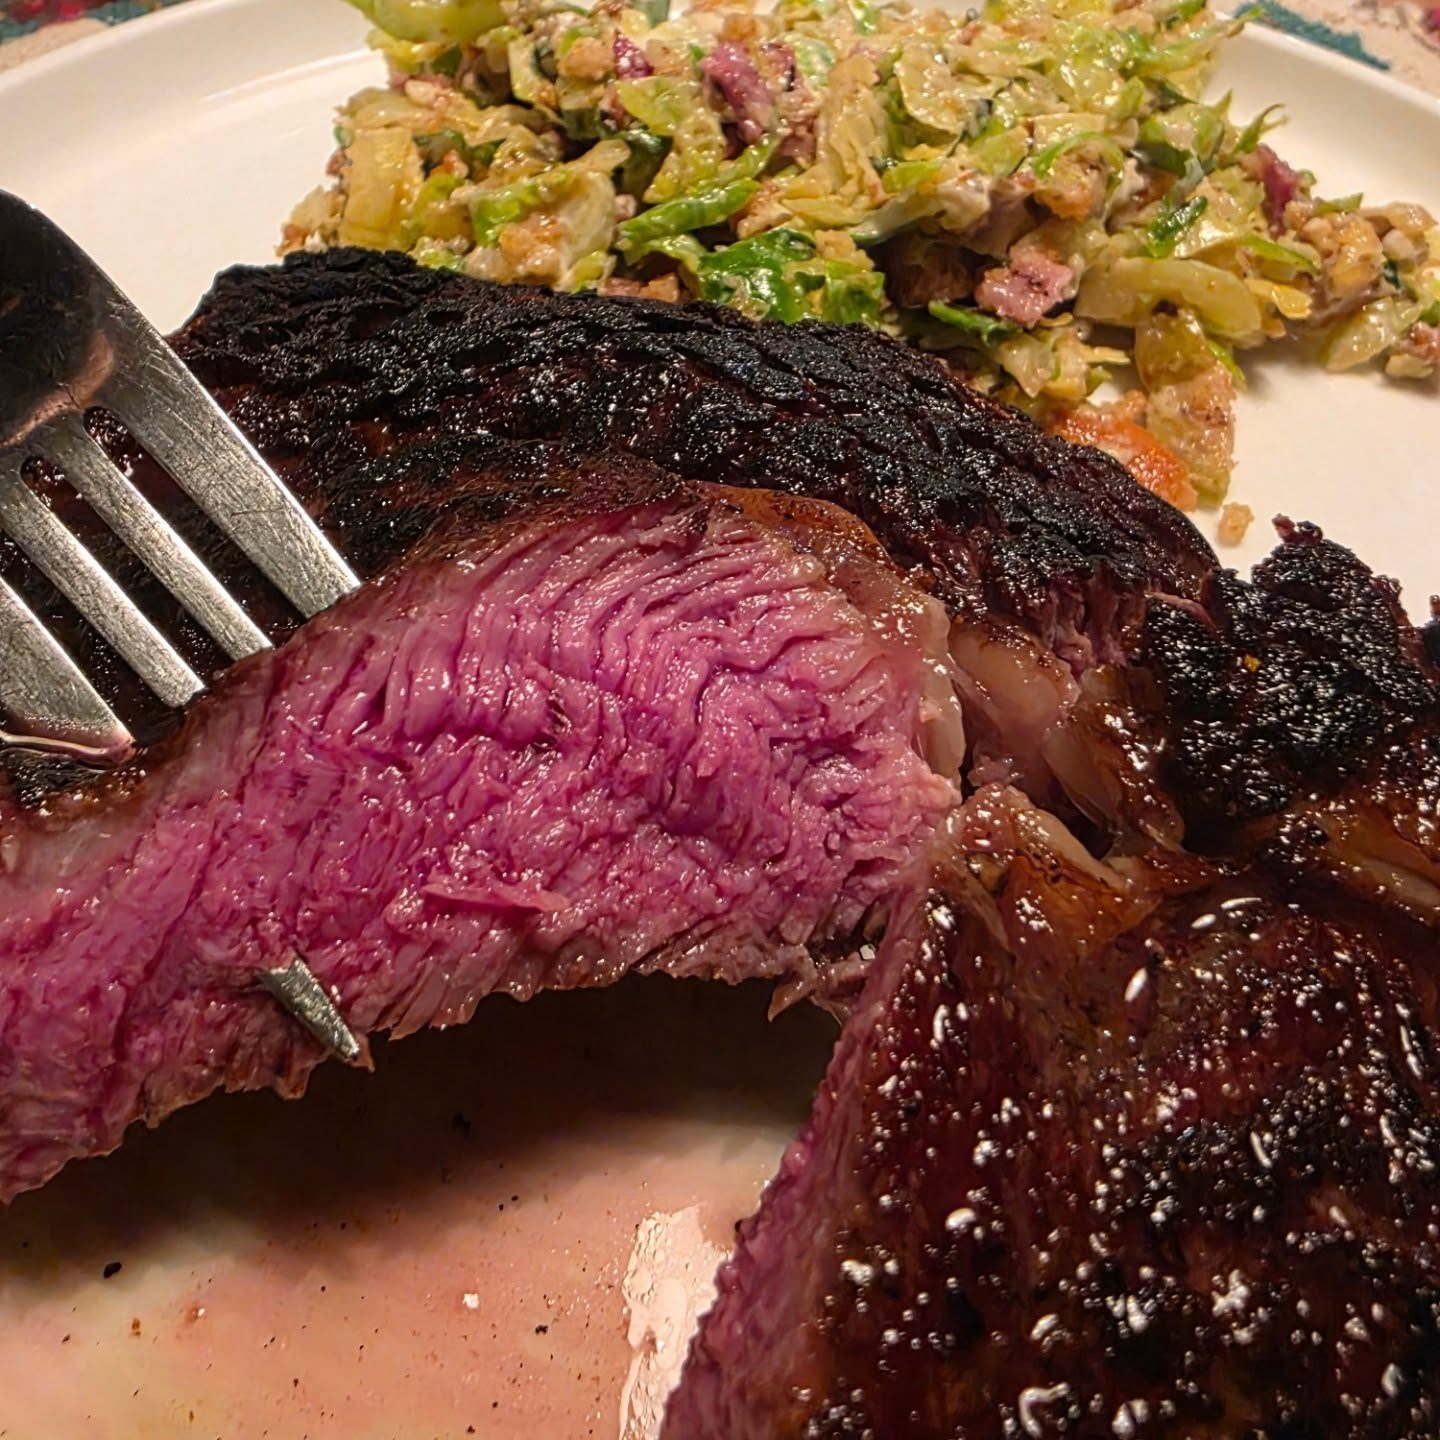
Grilling
High, direct heat on the barbecue or a grill pan, for a caramelized crust and smoky flavour.
Key steps
- Preheat the grate well and clean it.
- Pat the meat dry and salt it at least 30 minutes ahead.
- Don’t move it until it releases on its own.
- Check doneness with a thermometer and rest 5 minutes.
Avoid: Piercing the meat with a fork or pressing it with a spatula: the juices escape.
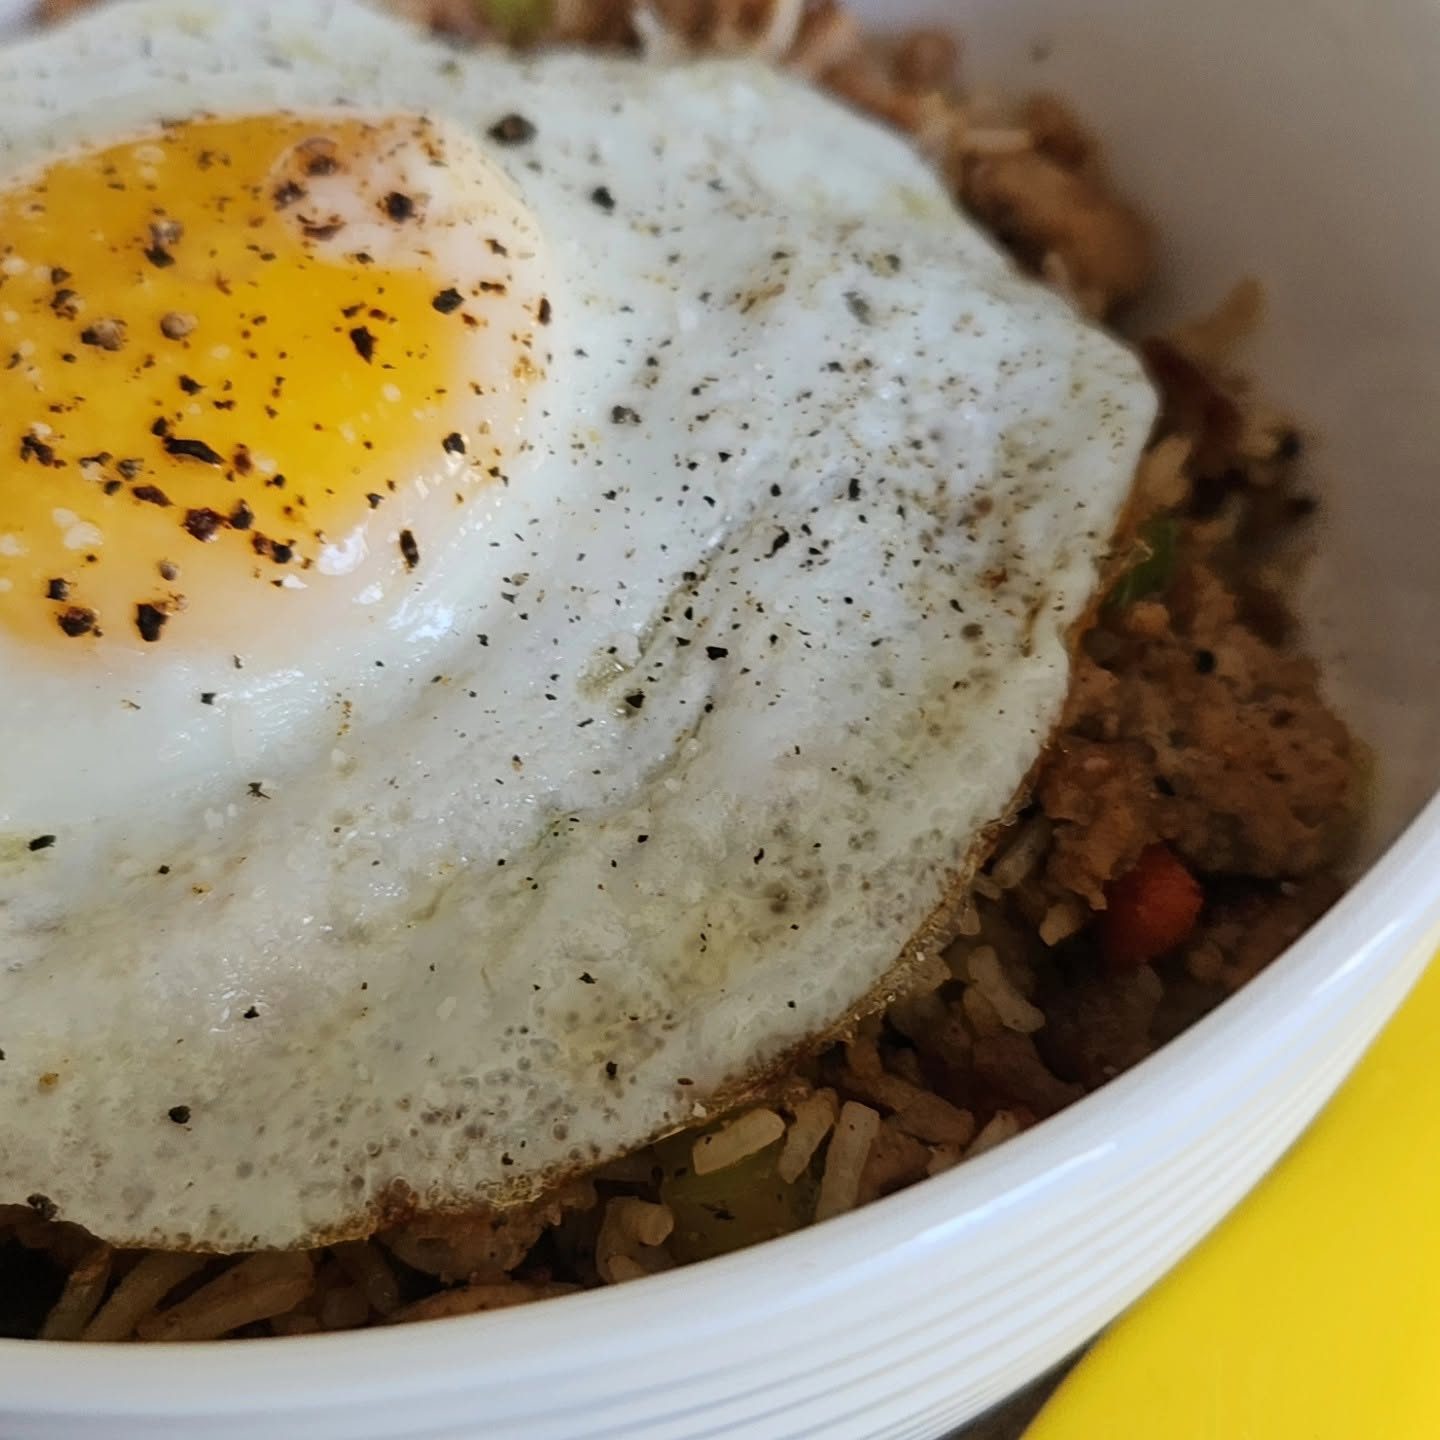
Sautéing
Quickly cooking small pieces in a little very hot fat, moving them often. It’s the basis of wok cooking.
Key steps
- Cut everything into even pieces.
- Heat the pan or wok before adding the oil.
- Cook in small batches so things sear instead of steam.
- Add sauces at the very end.
Avoid: Crowding the pan: the temperature drops and the food releases its water.
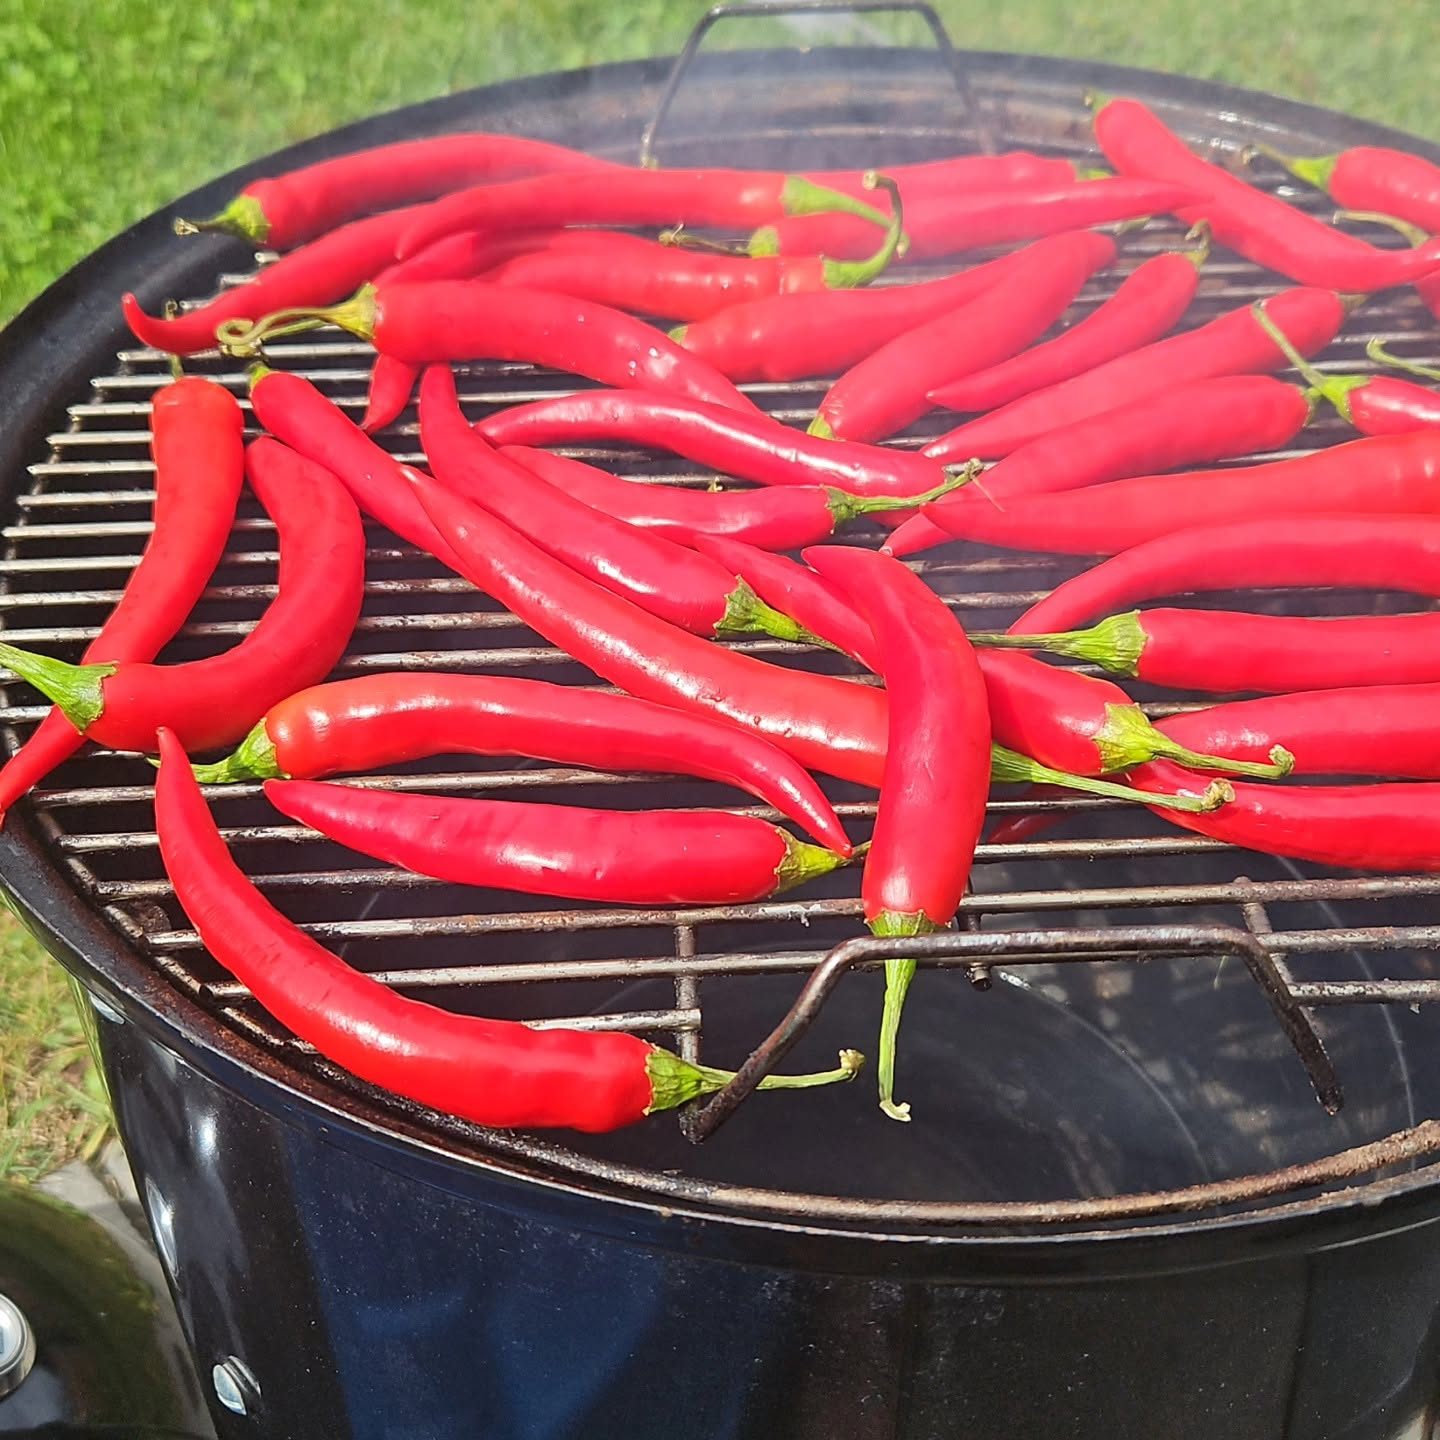
Smoking
Slowly cooking or flavouring food at low temperature with wood smoke. Meat, fish, chilies, even cheese.
Key steps
- Set up the grill for indirect heat, 225 to 250 °F (105 to 120 °C).
- Add wood chips (apple, maple, hickory), soaked or in a box.
- Keep a thin, bluish smoke, not thick white smoke.
- Be patient: from 1 hour for chilies to 12 hours for a pork shoulder.
Avoid: Opening the lid too often: each time you lose heat and smoke.
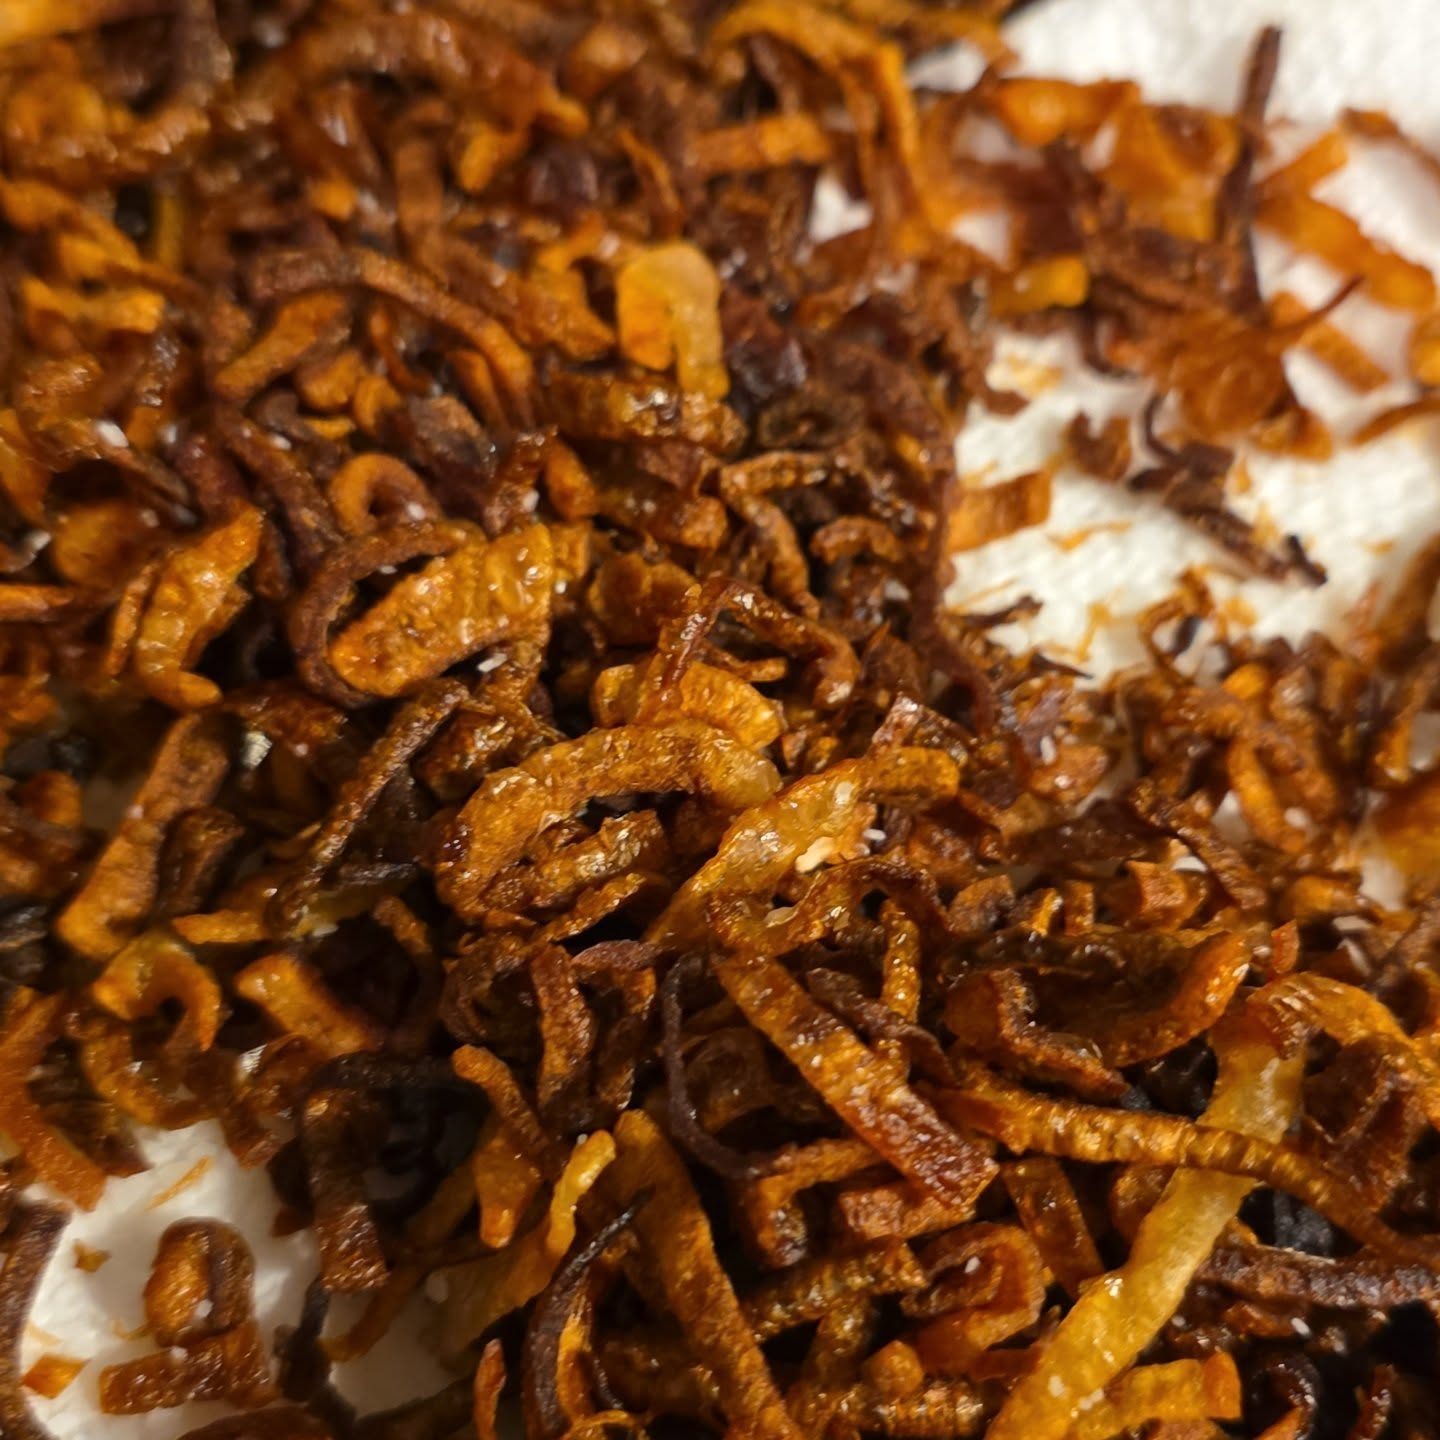
Frying
Cooking in a bath of hot oil. Done right, it’s crisp outside and tender inside, never greasy.
Key steps
- Use a neutral oil with a high smoke point (canola, peanut).
- Check the temperature with a thermometer: 325 to 375 °F (160 to 190 °C).
- Fry in small batches to keep the oil hot.
- Drain on a rack or paper towel and salt right away.
Avoid: Oil that isn’t hot enough, which makes food soggy and greasy. And never water near hot oil!
Steaming
Cooking with water vapour, without touching the liquid. It’s gentle and keeps colour, texture and nutrients.
Key steps
- Bring 1 inch (2 to 3 cm) of water to a boil under a bamboo or metal basket.
- The bottom of the basket shouldn’t touch the water.
- Lay the food in a single layer on parchment or a cabbage leaf.
- Cover and don’t lift the lid unnecessarily.
Avoid: Letting the water boil dry: check the level for longer cooks.
Adjusting
A recipe is a starting point, not a contract. Ingredients vary (an August tomato is nothing like a January one), and so do tastes: tasting and adjusting is how a dish becomes yours.
Key steps
- Taste at every stage, not just at the end: after seasoning, after reducing, before serving. Keep a clean spoon handy.
- Salt and pepper to taste: season in small steps, at the start and at the end of cooking. A flat dish is often missing salt… or acidity.
- Adapt the amounts to your taste: more garlic, less chili, a little more sugar or lemon. Write down your changes for next time.
- Rebalance: too salty, add acidity, fat or dilute; too sour, a pinch of sugar or some butter; too spicy, dairy or sugar; too sweet, salt or acidity.
Substitute with logic
Missing an ingredient? Replace it with one that plays the same role in the dish:
- Acidity: lemon ↔ lime ↔ vinegar
- Fat: butter ↔ ghee ↔ oil
- Creaminess: sour cream ↔ Greek yogurt ↔ heavy cream
- Umami: soy sauce ↔ fish sauce ↔ miso
- Aromatics: shallot ↔ onion ↔ green onion whites
- Herbs: fresh ↔ dried (about a third as much dried)
Avoid: adding all the salt at once, or swapping in something with neither the same texture nor the same job (like milk instead of cream in a sauce that needs to thicken).
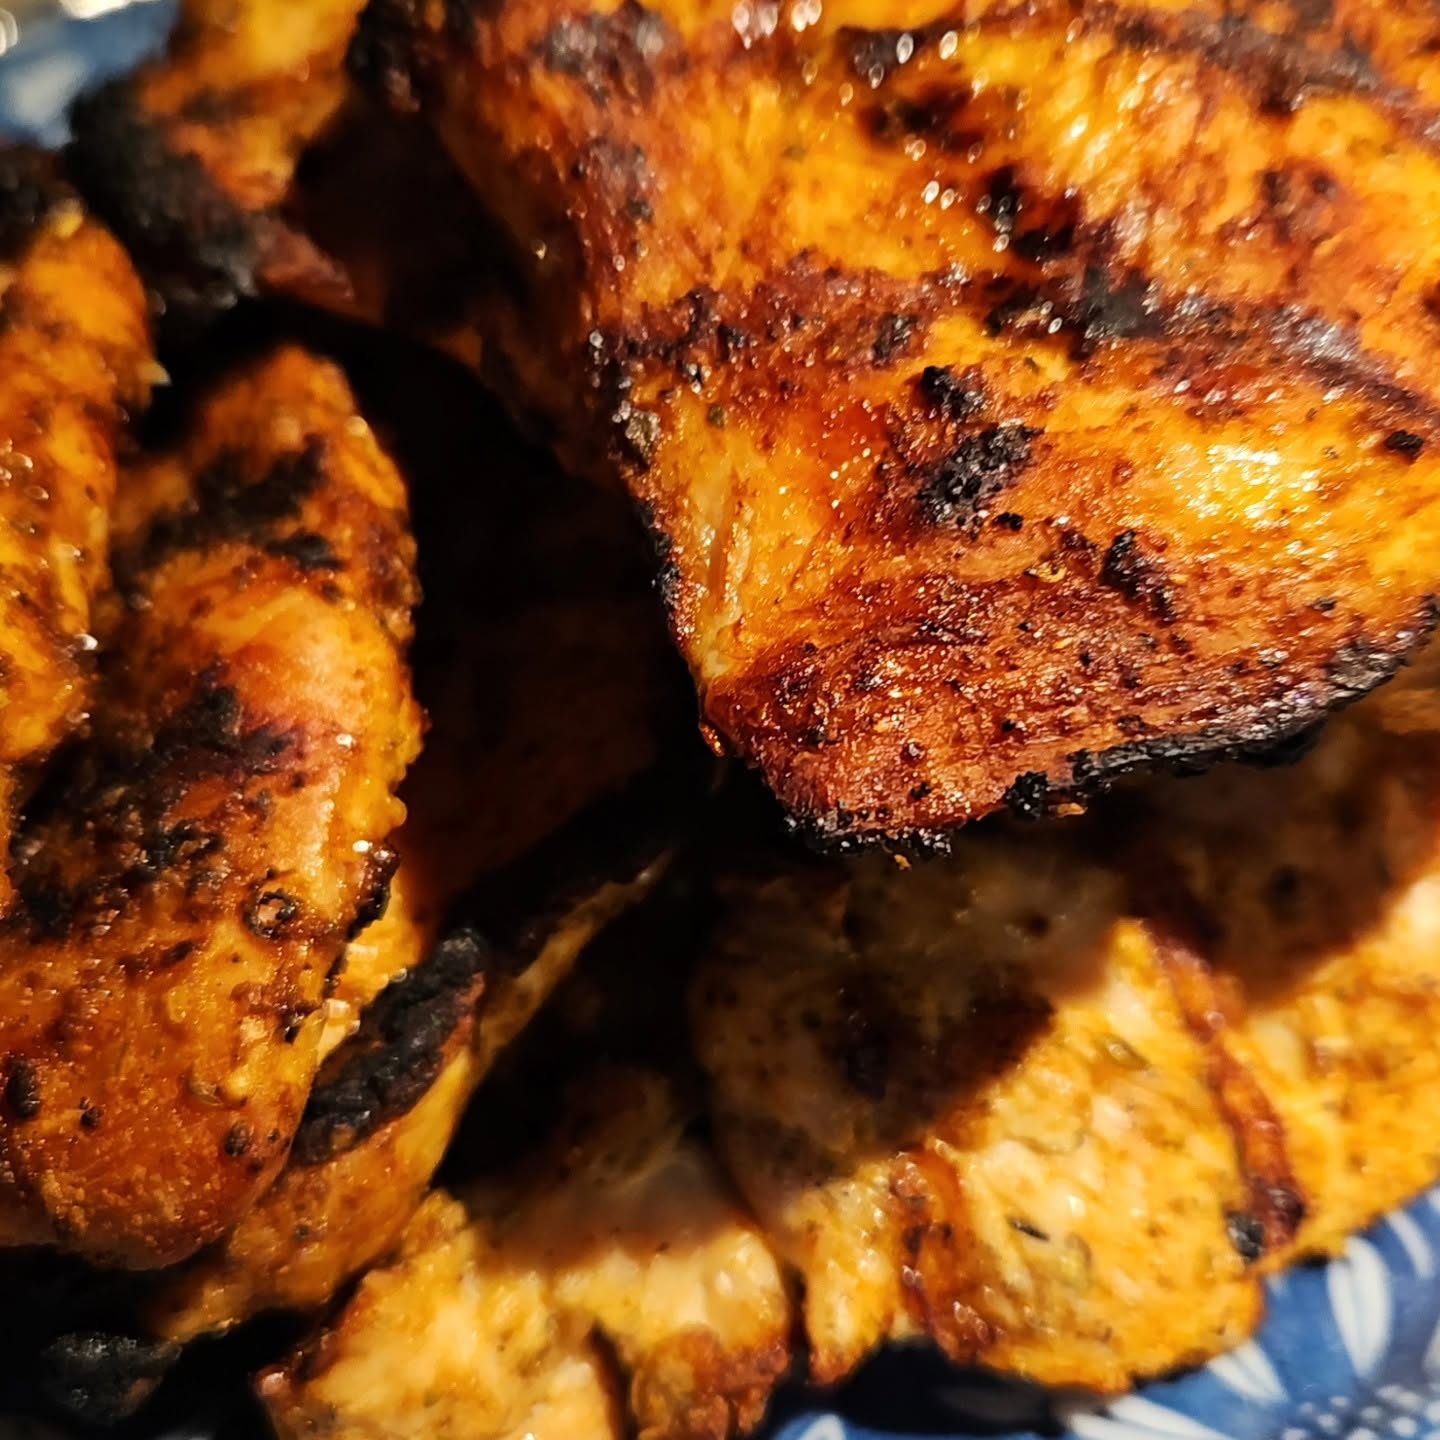
The Maillard reaction
It’s what gives a steak its golden crust, toast its toasty flavour and leaves those tasty browned bits in the pan. Above about 285 °F (140 °C), proteins and sugars in food react and create hundreds of aromas. No browning, no flavour!
Key steps
- Pat the surface dry with paper towel: water must evaporate before anything browns, and as long as there is water, the food boils instead of searing.
- The right temperature: a well-preheated cast-iron or stainless pan, and a fat that handles heat (canola, ghee). Add the food when the oil shimmers.
- Don’t crowd the pan: leave space between pieces. Too much food drops the temperature and releases juices. Cook in batches if needed.
- Wait until it releases: don’t move the food. Once the crust forms, it lets go on its own. If it sticks, it isn’t ready.
- Salt and pepper: salt well ahead (40 minutes or more for meat) or right before searing, never in between, since salt draws out moisture. Add pepper at the end: it burns and turns bitter over high heat.
Bonus: the browned bits stuck to the pan are gold. Deglaze with wine, broth or water to make a sauce.
Avoid: cold, wet meat straight from the fridge, a non-stick pan that doesn’t get hot enough, or flipping every 30 seconds.
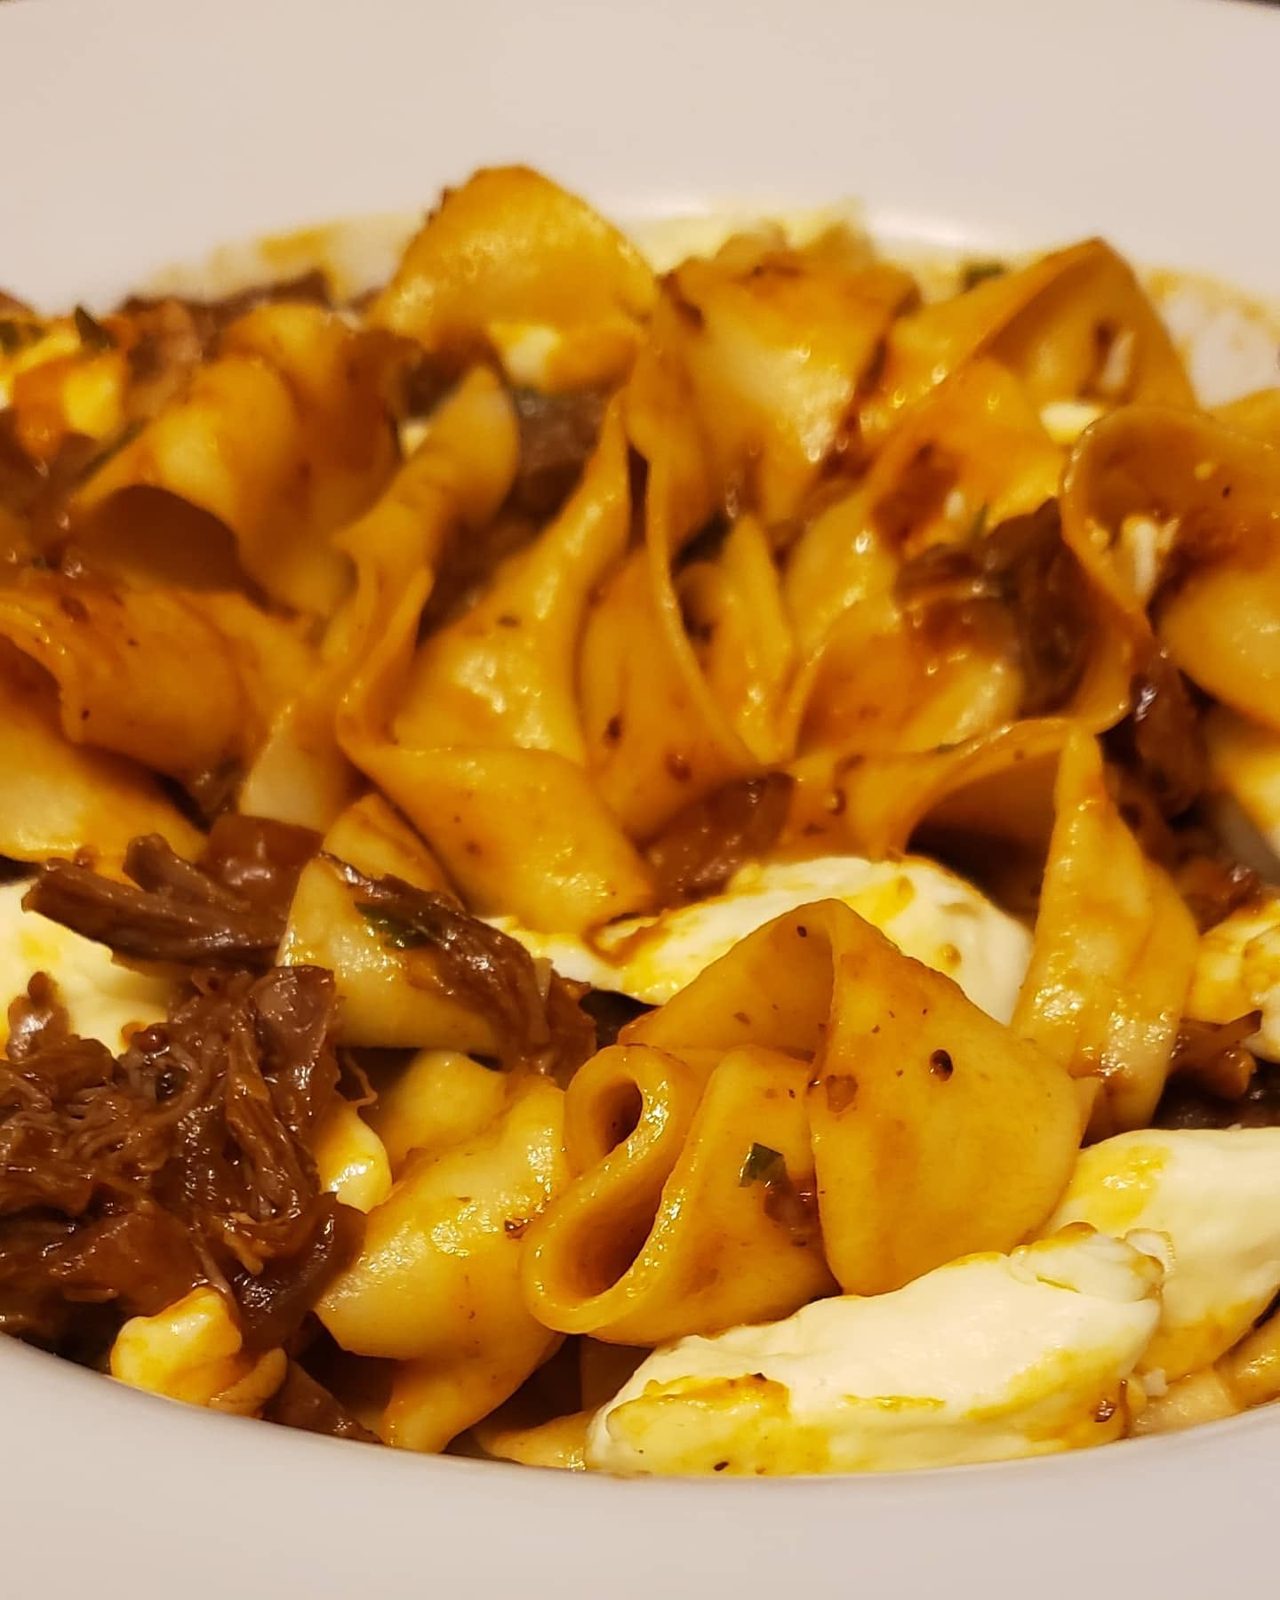
Pasta cooking water
Never pour all the pasta water down the drain! Loaded with starch from the pasta, it’s the restaurant secret ingredient: it binds the fat and liquid in the sauce and helps it cling to the noodles, for a silky sauce instead of an oily or watery one.
Key steps
- Salt the water well: about 1 tbsp of salt per 4 quarts (4 litres). It’s the only chance to season the pasta from the inside, and the reserved water will already be seasoned.
- Save 1 cup of water with a measuring cup right before draining. Tip: set the cup in the colander so you don’t forget.
- Drain the pasta 1 minute early and finish cooking it right in the sauce.
- Add the water little by little while tossing vigorously, until the sauce coats the pasta and turns glossy.
Where it makes all the difference: carbonara, cacio e pepe, butter-and-parmesan pasta, pesto, braising-juice sauces, or a sauce that reduced too much and needs loosening.
Avoid: rinsing the pasta (you wash off the starch), adding oil to the water (the sauce slides off instead of clinging) or dumping all the water down the sink.